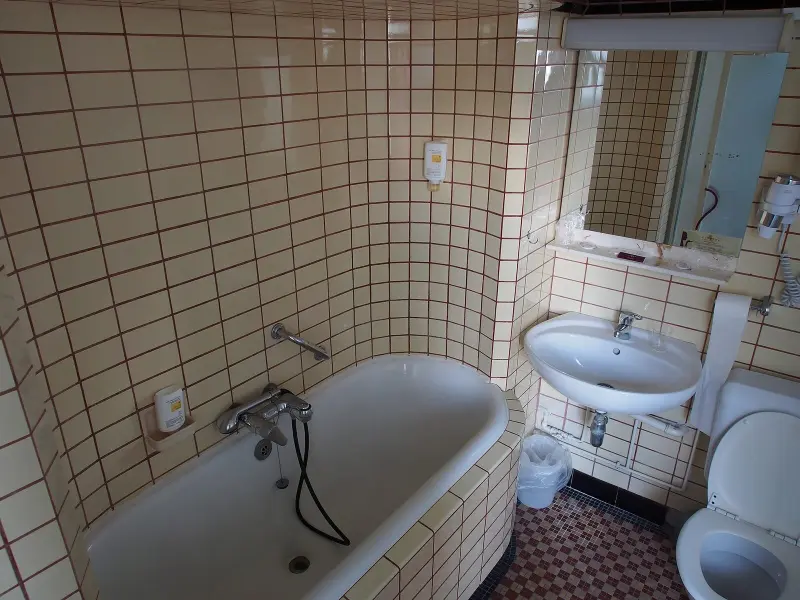
Most bathtub caulk fails for the same reasons: it went on over old caulk, over a damp joint, or over mold that was never really killed. Within a year it's gray, peeling and spotted again. Doing it right takes a little longer up front, about two hours of work spread across two days, but a properly laid bead of silicone can stay tight and white for many years.
Here is the full process, including the step most people skip.
What You'll Need
- One 10-ounce tube of 100% silicone caulk labeled for kitchen and bath (mildew-resistant), about $8 to $12
- A smooth-action caulk gun (a dripless model is worth the extra few dollars)
- Plastic razor blades or a caulk removal tool
- Utility knife with a fresh blade
- Caulk remover gel (optional, helpful for old silicone)
- Household chlorine bleach, a spray bottle, and a nylon scrub brush
- Rubbing alcohol (isopropyl, 70% or higher) and lint-free rags
- Blue painter's tape
- A caulk finishing tool or a plastic spoon, and a small cup of water with a drop of dish soap
- Rubber gloves, safety glasses, and good ventilation
- Backer rod, if any gap is wider than about 1/4 inch
Silicone or Latex: Pick the Right Tube
You'll see two main families on the shelf.
100% silicone stays flexible, sheds water and resists mildew better than anything else at this price. It's the right choice for the joint where the tub meets the tile or surround, which moves slightly every time the tub fills and empties. Its downsides: it can't be painted, it's messier to tool, and new silicone won't stick to old silicone residue.
Siliconized acrylic latex cleans up with water and is far more forgiving to apply. It's fine for dry joints like trim and baseboard, but in a wet, moving tub joint it tends to shrink, crack and mildew sooner.
Hybrid polymer caulks sit between the two and are a reasonable option if you prefer water cleanup. For most tubs, though, we'd use silicone.
Step 1: Get Every Bit of Old Caulk Out
This is the step that decides whether your new bead lasts.
Slice along both edges of the old bead with the utility knife, holding the blade flat to avoid scratching the tub. Then peel and scrape it out with a plastic razor. On acrylic or fiberglass tubs, use only plastic blades; metal will scratch the finish.
If the old caulk is silicone and won't let go, apply a caulk remover gel, wait the time on the label (often a couple of hours), and scrape again. Finish by rubbing the joint with a rag and rubbing alcohol until you no longer feel a slick film. Any silicone left behind will keep the new bead from bonding.
Step 2: Kill the Mold
Black spots inside the joint are mold or mildew growing on soap residue and moisture. Scrubbing alone leaves roots behind.
Mix a mild solution of about 1 part chlorine bleach to 10 parts water in a spray bottle. Spray the joint, let it sit for 10 to 15 minutes, scrub with the nylon brush, and rinse with plain water.
Safety note: Never mix bleach with ammonia, vinegar, or other acidic or ammonia-based cleaners. The combination releases toxic gases. Rinse away any other cleaner you've used before switching to bleach, run the exhaust fan, open a window, and wear gloves and eye protection.
If the mold has stained the grout or drywall behind the tile and the wall feels soft when you press it, the problem is bigger than caulk. A water leak behind the surround needs to be found and fixed first.
Step 3: Let It Dry Completely
Caulk applied over a damp joint traps water and lets mold come right back. After cleaning, run the bathroom fan, keep the door open, and leave the joint alone for at least 24 hours. In a humid climate or a bathroom without a fan, give it 48 hours or aim a small fan at the tub. Nobody showers in this tub until the job is done.
Step 4: Fill the Tub With Water
This is the trick that separates a lasting bead from one that splits along the back edge.
A tub full of water and a person weighs a lot, and it settles a fraction of an inch. If you caulk an empty tub, the joint is at its narrowest; the first time someone takes a bath, the tub drops and stretches the fresh caulk. Fill the tub with water before you caulk and leave it full until the caulk has cured. The bead then sits in the joint's "open" position, so it's compressed rather than stretched when the tub empties.
Step 5: Tape and Cut
Run painter's tape along the tile about 1/8 inch above the joint, and along the tub about 1/8 inch below it. This gives you two perfectly straight edges.
Cut the caulk nozzle at a 45-degree angle, starting with a small opening, roughly 1/8 inch. You can always cut it bigger. Puncture the inner foil seal with the wire on the gun.
Step 6: Lay the Bead
Hold the gun at a 45-degree angle and push the bead ahead of the nozzle rather than dragging it behind. Squeeze steadily and move at a constant speed, going from corner to corner along one wall in a single pass if you can. For gaps wider than about 1/4 inch, press a strip of foam backer rod into the joint first so the caulk doesn't sink.
Dip your finishing tool or fingertip in the soapy water and tool the bead in one smooth stroke, pressing it into the joint and shaping a slight concave curve. Wipe excess off the tool on a rag between passes.
Pull the tape right away, while the caulk is still wet, pulling it away from the joint at a low angle.
Step 7: Let It Cure
Silicone usually forms a skin in 15 to 30 minutes, but curing takes much longer. Most products say 24 hours before exposure to water; some recommend up to 48 hours in cool or humid conditions. Read the tube and give it the full time. Then drain the tub.
Common Mistakes
- Caulking over old caulk. It looks fine for a month, then peels.
- Skipping the drying time. Trapped moisture equals mold.
- Too big a bead. A thick bead is harder to tool, cures slowly, and looks sloppy. The joint only needs enough to fill and bridge it.
- Using latex where silicone belongs. It's easier to apply but rarely lasts as long in a tub joint.
- Tooling with a dry finger. Silicone sticks to everything. Soapy water keeps it from dragging.
Keeping It Clean
A squeegee or towel swipe along the joint after each shower, plus running the exhaust fan for 20 to 30 minutes, keeps the joint dry enough that mildew has little to grow on. Check the bead once or twice a year and patch small gaps before water gets behind the tile.
Final Thoughts
Good caulking is about 80 percent preparation: complete removal, a real mold treatment, a bone-dry joint and a tub filled with water. The bead itself takes about ten minutes. Once the tub is done, the same method works on the sink backsplash and around the base of the toilet.