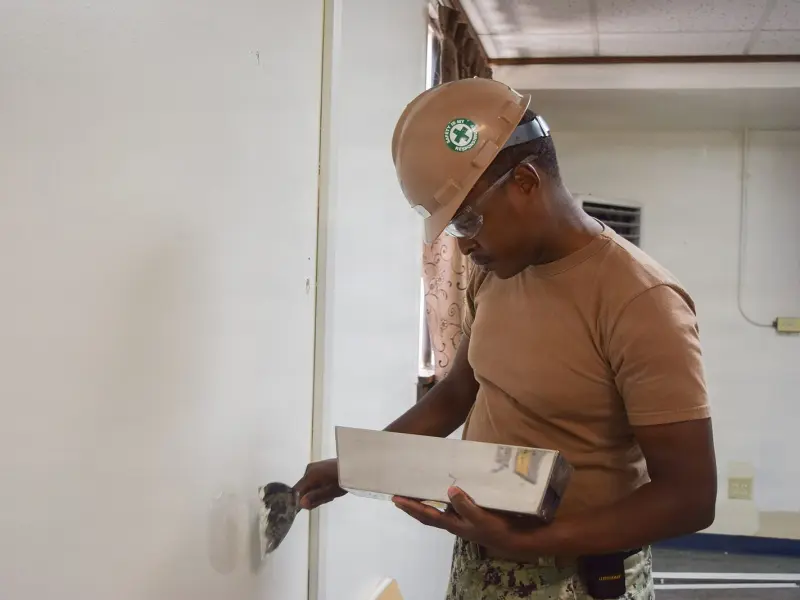
A doorknob without a stopper, a moving dolly that turned too fast, a teenager's bad afternoon: most fist-sized holes in drywall arrive in a split second and then sit there for months. The good news is that a hole between 3 and 6 inches across is squarely in DIY territory. With about $25 in materials and a couple of evenings, you can make it disappear so well that nobody will find it once the wall is painted.
There are two common ways to do it. A mesh patch is a self-adhesive metal or fiberglass plate you stick over the hole and bury in joint compound. A California patch (also called a butterfly patch) uses a piece of scrap drywall with its paper face left wider than the gypsum, so the paper acts as a built-in tape. Both work. We will walk through each and explain when to choose one over the other.
What You'll Need
- Utility knife with a fresh blade
- Drywall saw (a small jab saw)
- Self-adhesive repair patch, 6 x 6 inches or 8 x 8 inches (for the mesh method)
- A scrap of drywall the same thickness as your wall, usually 1/2 inch (for the California method)
- Pre-mixed lightweight all-purpose joint compound, or a small bag of setting-type compound
- 4-inch and 8- to 10-inch drywall knives
- Fine and medium sanding sponges (around 120 and 180 grit)
- Pencil, tape measure, framing square or a straight scrap of wood
- Drywall primer or a PVA primer
- Drop cloth, dust mask and safety glasses
Expect to spend roughly $15 to $30 if you have to buy the patch, a small tub of compound and a sanding sponge.
Before You Cut: Check What's Behind the Wall
Shine a flashlight into the hole and look around. Walls hide electrical cable, plumbing and sometimes ductwork. If you see wires anywhere near the edge, switch off the breaker for that room before you cut, and keep the saw blade shallow. A jab saw only needs to go about an inch deep to get through the board. If the hole is directly over a stud, a mesh patch is usually the easier choice, because the California method relies on cutting a clean square.
Method 1: The Mesh Patch
This is the fastest route and the one most people should try first.
- Trim loose material. Use the utility knife to cut away any torn paper and crumbled gypsum around the hole. You want a firm edge all the way around. Lightly sand the surrounding 6 inches so the patch and compound grab well.
- Stick the patch on. Center the patch over the hole and press it flat from the middle outward. The metal plate should overlap solid wall by at least an inch on every side. If the hole is larger than the plate, switch to the California method.
- Apply the first coat. Load the 4-inch knife with compound and spread a thin layer over the entire patch, pressing hard enough to push compound through the mesh. Feather it about 2 inches past the patch edges. Do not try to fill everything in one go; thick coats crack and shrink.
- Let it dry. Pre-mixed compound generally needs about 24 hours to dry fully at room temperature, longer in a cool or humid house. A setting-type compound labeled "20" or "45" hardens in roughly that many minutes, which lets you add the next coat the same day.
- Second and third coats. Scrape off any ridges, then switch to the wider knife and apply a thin coat that extends 8 to 10 inches beyond the patch in every direction. Let it dry, sand lightly, and add a final skim coat even wider. The goal is to spread the slight bump of the patch over such a wide area that your eye cannot pick it up.
Method 2: The California Patch
This method leaves almost no bump, which matters on walls lit by a window from the side.
- Square up the hole. Draw a square or rectangle around the damage with a pencil and straightedge, then cut along the lines with the jab saw. A 4-inch hole usually becomes a 5- or 6-inch square.
- Cut the patch. Measure the opening, then mark a piece of scrap drywall that is 2 inches larger on every side. If your hole is 5 x 5 inches, the patch blank is 9 x 9 inches.
- Score the back. Flip the scrap over. On the back, mark the actual opening size (5 x 5 inches) in the center. Score along those lines with the utility knife, snap the gypsum, and peel the waste gypsum off the face paper. Take your time. You should end up with a 5-inch square of gypsum with a 2-inch flange of face paper all around it.
- Test the fit. Push the gypsum plug into the hole. It should slide in snugly with the paper flange lying flat on the wall. Shave the edges if it binds.
- Set it in compound. Butter the back of the paper flange and the edges of the hole with compound. Press the patch in, then run the 4-inch knife over the paper from the center outward to squeeze out excess compound and air bubbles. Skim a thin coat over the paper.
- Finish like a tape joint. After it dries, apply one or two wider skim coats, feathering 6 to 8 inches beyond the paper edge.
Sanding Without Making a Mess
Sanding is where most of the dust and most of the frustration come from. A few habits help:
- Use a sanding sponge instead of loose sandpaper. It rides over the surface rather than digging grooves.
- Sand only until the ridges and knife marks are gone. If you see the mesh or the paper flange, stop and add another thin coat instead.
- Hold a flashlight flat against the wall and shine it across the patch. Shadows reveal humps and dips that are invisible under ceiling light.
- A damp sponge can smooth the final coat with almost no dust. Wring it out well and work in small circles.
Wear a dust mask. Joint compound dust is fine enough to hang in the air and settle across the whole room, so close the door and lay a drop cloth.
Prime Before You Paint
Fresh joint compound absorbs paint differently than the rest of the wall. If you paint directly over it, the patch often shows up as a dull spot, a problem painters call flashing. Brush or roll a coat of drywall primer over the repair and let it dry according to the label, usually an hour or two. Then paint the patch, and ideally the whole wall from corner to corner, so the sheen matches.
If your wall has an orange-peel or knockdown texture, use a spray can of texture made for patching before priming. Practice on a piece of cardboard first, since the spray pattern takes a little getting used to.
Common Mistakes
- One thick coat. It shrinks, cracks and takes days to dry. Three thin coats beat one heavy one every time.
- A patch that's too narrow. A repair feathered only 2 inches wide will always show. Wider is better.
- Skipping primer. Even a perfectly smooth patch can flash through the paint.
- Sanding through. If the knife or sandpaper exposes mesh, add compound rather than sanding more.
- Ignoring the cause. If a doorknob made the hole, install a wall bumper or door stop, or you will be doing this again next year.
How Long Does It Take?
With pre-mixed compound, plan on three days: the patch and first coat on day one, the second coat on day two, the final coat, sanding and primer on day three. Hands-on time totals about an hour and a half. With setting-type compound you can often finish all the coats in one afternoon and paint the next morning.
The Bottom Line
A fist-sized hole looks dramatic, but the repair is mostly patience: a solid patch, thin coats, wide feathering and a coat of primer. Once you've done one, the same skills carry over to cracked corners, loose tape and nail pops. A good next project is going around the house with a putty knife and filling every small nail hole before your next repaint.