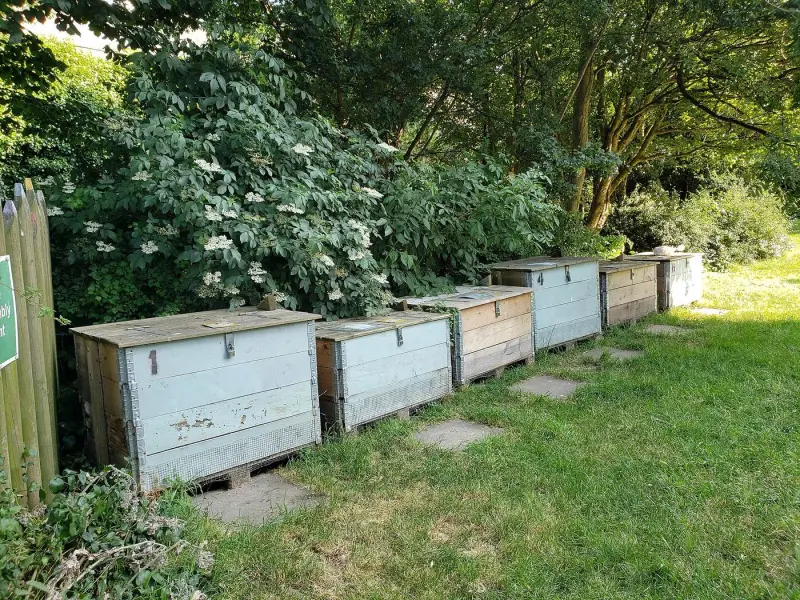
A compost pile does not need a corner of a farm. A spot about 3 feet square, out of the way but easy to reach with a bucket of kitchen scraps, is enough to turn a family's peels, coffee grounds, and fall leaves into a few wheelbarrows of dark, crumbly soil amendment each year. The trick in a small yard is choosing a container that keeps things tidy and learning the simple balance that keeps a pile from turning into a slimy, smelly mess.
Pick a Spot First
Before buying anything, walk the yard and look for a place that checks most of these boxes:
- Level ground with bare soil underneath. Contact with soil lets earthworms and microbes move in from below. Avoid setting a bin on a deck or concrete patio unless it is a sealed tumbler.
- Partial shade. Full sun dries a pile out quickly in July; deep shade keeps it cold and soggy. A spot that gets morning sun and afternoon shade is ideal in most of the country.
- Close enough to the kitchen. If the bin is at the far end of the lot, you will stop walking out there in February. Many people end up composting within 30 to 50 feet of the back door.
- A few feet from fences and siding. Moist material against wood invites rot and termites. Leave at least 12 inches of clearance, and check any HOA or city rules about setbacks from property lines.
Choosing a Bin for a Tight Space
There is no single best container. It depends on how much material you produce and how much work you want to do.
Enclosed plastic bin
The classic black "Earth machine" style bin holds roughly 60 to 80 gallons, has a lid, and an access door at the bottom. Many cities sell them at a discount, often for about $30 to $60. They look neat, keep rain off, and discourage most pests. The downside is that they are awkward to turn, so they compost more slowly, typically 6 to 12 months.
Tumbler
A barrel on a stand that you spin with a handle. Tumblers keep everything off the ground, which matters if you have rats in the neighborhood or only a patio. A dual-chamber model lets one side "cook" while you fill the other. Expect to pay roughly $90 to $250. Small tumblers can get too wet, and they lose heat quickly in cold weather because there is not much mass.
Wire or pallet bin
A ring of 4-foot-tall hardware cloth or welded wire about 3 feet across, closed with zip ties, costs about $25 and is excellent for leaves. Three shipping pallets screwed into a U shape make a free, sturdy bin. These open designs hold the most material and are the easiest to turn with a pitchfork, but they look rougher and need a tarp or lid in rainy climates.
For most small suburban yards, one enclosed bin for kitchen scraps plus a wire ring for fall leaves is a practical combination. The leaves become your stockpile of "browns" for the rest of the year.
What You'll Need
- A bin or tumbler (see above)
- A small countertop caddy with a lid, 1 to 2 gallons
- A garden fork or a compost aerator tool
- A supply of dry browns: shredded leaves, straw, or plain cardboard
- A hose with a spray nozzle
- Gloves
- Optional: a long-stem compost thermometer, about $15 to $25
Getting the Green and Brown Balance Right
Every compost pile runs on two kinds of ingredients.
Greens are wet and rich in nitrogen: fruit and vegetable scraps, coffee grounds and paper filters, tea leaves, fresh grass clippings, and plant trimmings.
Browns are dry and rich in carbon: fallen leaves, straw, shredded newspaper, plain corrugated cardboard torn into pieces, paper egg cartons, and sawdust from untreated wood.
The often-quoted target is a carbon-to-nitrogen ratio of about 30 to 1, but nobody measures that at home. A workable rule is to add two to three parts browns for every one part greens by volume. When you empty a 1-gallon kitchen caddy, cover it with two or three gallons of shredded leaves. That habit alone prevents most of the problems people run into.
Moisture is the other half of the equation. The whole pile should feel like a wrung-out sponge: damp throughout, but no water drips when you squeeze a handful. In dry Western climates you will probably need to add water every week or two in summer. In the Southeast and Pacific Northwest, a lid is usually more important than a hose.
Building and Maintaining the Pile
- Start with a coarse base. Lay 4 to 6 inches of twigs, corn stalks, or straw on the bottom so air can move up through the pile.
- Add material in layers. Alternate greens with a thicker layer of browns. Bury fresh food scraps at least a few inches under browns so flies and animals are not drawn to them.
- Chop things smaller. Cut melon rinds, broccoli stems, and corncobs into pieces of 2 inches or less. Run a lawn mower over a pile of leaves before adding them. Smaller pieces break down weeks faster.
- Turn it. Every one to two weeks, use a fork or aerator to mix the outer material into the center. In a tumbler, give it five or six spins every few days. Turning adds oxygen, which is what the fast-working bacteria need.
- Watch the temperature if you like. An active pile with enough mass, about a cubic yard, can reach 130°F to 150°F in the center within a few days. Small backyard bins often stay cooler, around 90°F to 110°F, and that is fine. They just take longer.
- Harvest when it is finished. Finished compost is dark, crumbly, and smells like forest soil. You should not be able to recognize the original food. Sift it through a frame of 1/2-inch hardware cloth and toss any large chunks back into the bin.
In a well-tended small bin, expect usable compost in roughly three to six months during warm weather. Left mostly alone, a "cold" pile still finishes, just in closer to a year.
What to Leave Out
Keep these out of a backyard pile, especially a small one that will not get hot enough to break them down safely:
- Meat, fish, bones, and dairy, which attract rodents and raccoons and smell as they rot
- Greasy food and cooking oil
- Dog and cat waste, which can carry parasites
- Diseased plants and weeds that have gone to seed
- Grass clippings from lawns treated with herbicide in the past few weeks
- Glossy or coated paper, and "compostable" plastics, which usually need commercial facilities
Fixing a Smelly Pile
A healthy pile smells earthy or barely at all. If yours does not, the odor tells you what is wrong.
Rotten-egg or sour smell. The pile is too wet and has gone anaerobic, usually from too many greens or heavy rain. Fix it by turning the whole pile thoroughly and mixing in a generous amount of dry browns, such as a bag of shredded leaves or a few armfuls of torn cardboard. Leave the lid cracked for a day or two if it is not raining.
Ammonia smell. Too much nitrogen, often from a big load of fresh grass clippings. Mix in browns at roughly a 3-to-1 ratio and spread clippings in thin layers next time, or leave them on the lawn instead.
Garbage smell and flies. Food scraps are sitting on top. Bury them under 2 to 3 inches of browns every time you add a caddy.
No smell, no heat, no progress. The pile is probably too dry or has too few greens. Water it until it is damp throughout and add a few weeks of kitchen scraps or a few shovels of finished compost or garden soil to bring in microbes.
Tips for Small-Yard Composting
- Keep a lidded trash can full of shredded leaves next to the bin. Fall leaves are free browns all year.
- Freeze kitchen scraps in a container if you cannot get to the bin every day. Freezing also softens them so they break down faster.
- Line the bottom of an open bin with 1/4-inch hardware cloth if rodents are a problem in your area.
- Wash your hands after handling compost, and wear gloves if you have cuts on your hands.
Putting the Compost to Work
Spread 1 to 2 inches of finished compost over vegetable beds in spring or fall, work a few handfuls into planting holes, or top-dress the lawn with a thin 1/4-inch layer after aerating. Even a modest bin in a small backyard can supply most of what a few raised beds need each season, while keeping a surprising amount of weight out of the trash can.