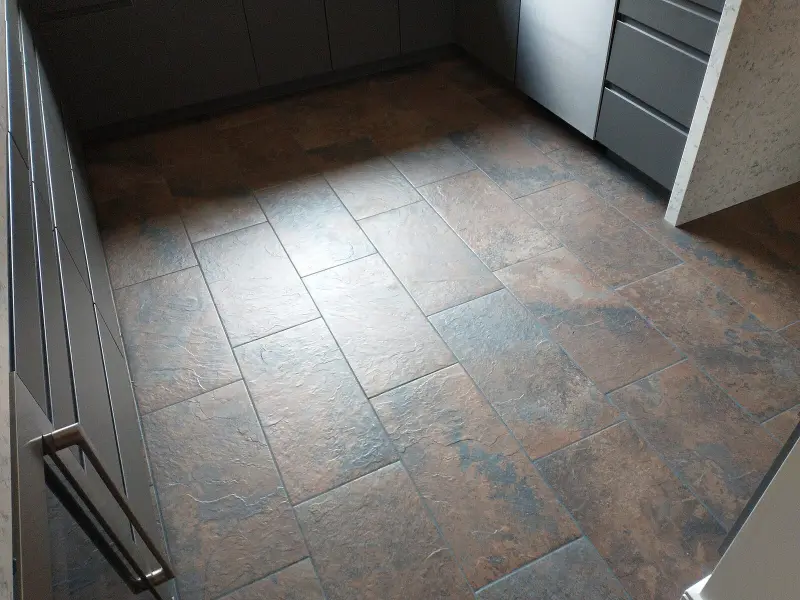
Kitchen floor grout takes more abuse than almost any other surface in the house. It sits a fraction of an inch below the tile, so mop water, cooking grease, and tracked-in dirt all drain into it and stay there. Cement-based grout is also porous, which means the stain is often inside the grout, not just on top.
The right approach is to escalate slowly. Start with the mildest method, check your progress, and only move to stronger cleaners if you need to. Then seal the grout so all that scrubbing does not have to be repeated in six months.
Know Your Grout Before You Start
Most home kitchen floors use cement-based grout, either sanded (for joints wider than about 1/8 inch) or unsanded. It is porous and benefits from sealing.
Some newer floors use epoxy grout, which is nearly waterproof and stain resistant. It looks slightly glossy and feels hard and plastic-like. Epoxy grout cleans easily with the mild method below and does not need a sealer.
Also note your tile. Ceramic and porcelain tolerate everything in this guide. Natural stone such as marble, travertine, or limestone does not tolerate acids at all, and vinegar or acidic cleaners will etch it. If you have stone tile, stay with pH-neutral cleaners and oxygen bleach.
What You'll Need
- A stiff nylon grout brush (narrow head, about $5 to $10) and an old toothbrush for corners
- A bucket of warm water
- pH-neutral floor cleaner or a few drops of dish soap
- Baking soda
- 3% hydrogen peroxide (the brown drugstore bottle)
- Oxygen bleach powder (sodium percarbonate)
- Microfiber cloths or a sponge mop
- Kneepads or a folded towel
- Rubber gloves and safety glasses for the stronger methods
- Penetrating grout sealer and a small foam brush or applicator bottle
Before Any Method: Prep the Floor
Sweep or vacuum thoroughly. Grit left on the floor turns into sandpaper under your brush and scratches glazed tile. Then mop the floor with plain warm water so you can see which grout lines are truly stained versus just dusty.
Work in sections about 3 feet square. It keeps cleaner from drying before you scrub and lets you track your progress.
Level 1: Warm Water and a Good Brush
You may be surprised how much this does on its own. Mix warm water with a squirt of pH-neutral floor cleaner or a few drops of dish soap. Wet a section, wait two to three minutes, and scrub along each grout line with the stiff nylon brush, using short back-and-forth strokes.
Wipe up the dirty water with a damp microfiber cloth before it dries back into the grout. If the lines lighten noticeably, keep going with this method across the whole floor.
Level 2: Baking Soda and Hydrogen Peroxide Paste
For grout that is still gray after a water scrub, mix a paste of about 1/2 cup baking soda with 1/4 cup hydrogen peroxide. Add a drop of dish soap to help it cling.
Spread the paste onto the grout lines with the toothbrush or a gloved finger. Let it sit for 10 to 15 minutes. You may see light fizzing, which is the peroxide releasing oxygen into the stain. Scrub, then wipe away the residue with a damp cloth, rinsing it frequently.
This method is generally safe on colored grout and on ceramic or porcelain tile (test a hidden spot first next to dark natural stone, since peroxide can lighten some stones), and it handles the majority of kitchen stains: coffee drips, food spills, and general dinginess.
Level 3: Oxygen Bleach Soak
For heavy, set-in discoloration, oxygen bleach is the strongest thing most homeowners need. Dissolve oxygen bleach powder in hot water according to the package directions, usually about 1 to 2 tablespoons per gallon, or a bit more for a stronger solution. Stir until it dissolves.
Pour or sponge the solution onto a section of floor so the grout stays wet. Let it dwell for 10 to 15 minutes, keeping it wet the whole time. Scrub, then mop up with clean water. Rinse the section a second time to remove any residue, which can leave a dull film on tile.
Oxygen bleach is color-safe on most grout and is far less harsh than chlorine bleach. Wear gloves and eye protection, since the solution is alkaline and can irritate skin.
What About Chlorine Bleach and Vinegar?
Many online tips suggest one or the other. We use them sparingly, if at all, for three reasons:
- Chlorine bleach can lighten colored grout unevenly and leave a blotchy floor.
- Vinegar and acidic cleaners slowly dissolve cement-based grout over repeated use, and they etch natural stone.
- Mixing them is dangerous. Bleach combined with vinegar or other acids releases chlorine gas, and bleach combined with ammonia releases chloramine vapor. Never use these products together or one right after the other without a thorough rinse in between.
Steam Cleaners: A Useful Option
A handheld or canister steam cleaner with a small nylon brush tip works well on grout, using only water. It is especially handy on floors where you want to avoid chemicals. Avoid using steam on unsealed natural stone or on tile with cracked or crumbling grout, since forcing moisture into the subfloor can cause bigger problems.
Rinse and Let It Dry Completely
Whatever method you used, finish by mopping the whole floor with clean water to remove residue. Then let the grout dry before sealing. Cement grout needs at least 24 hours, and 48 to 72 hours is safer in humid weather. Sealing damp grout traps moisture and the sealer will not bond properly.
Seal the Grout So the Work Lasts
A penetrating sealer soaks into the grout and fills the pores so spills bead up instead of soaking in. It does not change the color and is nearly invisible once dry.
- Choose a penetrating, water-based sealer labeled for floors. Avoid topical "membrane" sealers on floors; they can wear unevenly and look patchy.
- Apply only to the grout. Use an applicator bottle with a roller tip, or a small foam brush. Work in short sections.
- Wipe any sealer off the tile surface within 5 to 10 minutes using a clean, dry microfiber cloth. Sealer that dries on glazed tile leaves a hazy film that is hard to remove.
- Apply a second coat if the product directions call for it, usually after 1 to 2 hours.
- Let it cure. Keep foot traffic light for a few hours and avoid mopping for 24 to 72 hours, depending on the product.
To test the seal, drip a few drops of water on the grout after it cures. If it beads up, you are done. If it darkens and soaks in, that section needs another coat.
How Often to Reseal
In a busy kitchen, reseal about once a year. Repeat the water-drop test every few months; when water stops beading, it is time.
Tips for Keeping Grout Cleaner Day to Day
- Mop with a pH-neutral cleaner and wring the mop well. Sloppy, wet mopping pushes dirty water into the grout lines.
- Change your mop water as soon as it looks gray.
- Put a washable mat in front of the sink and the stove, where most spills happen.
- Wipe spills of coffee, wine, and tomato sauce right away, even on sealed grout.
Common Mistakes
- Jumping straight to the harshest product before trying a brush and warm water
- Using a wire brush, which scratches tile and gouges grout
- Sealing too soon after cleaning
- Letting sealer dry on the tile face
Final Thoughts
Clean grout is mostly a matter of good brushing and the right amount of dwell time, not stronger chemicals. Work up from warm water to oxygen bleach only as needed, rinse well, and seal once everything is dry. If you find cracked or missing grout along the way, regrouting just those joints is a straightforward weekend repair worth tackling before you seal.