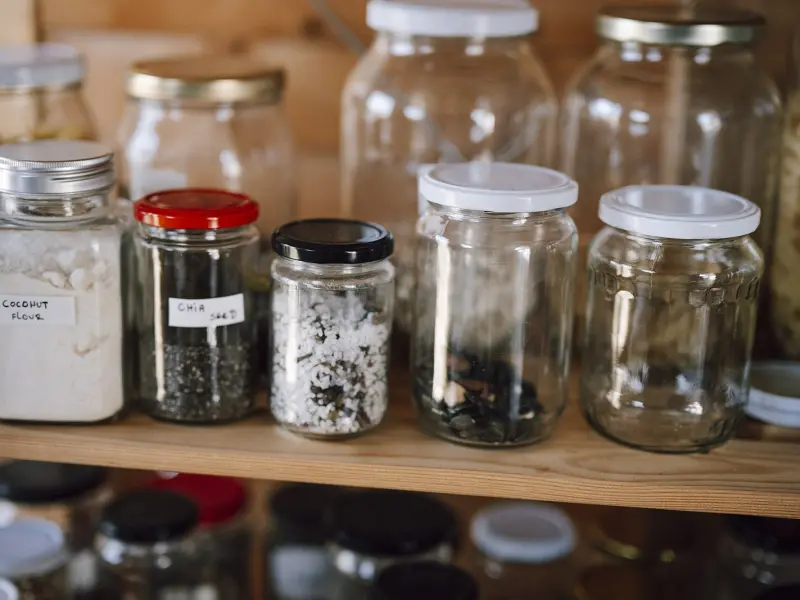
Deep pantry shelves look generous until you try to use them. Anything past the first row disappears, so you buy a third jar of paprika and find two expired cans of soup behind the cereal. The fix is not more space. It is turning a deep, flat shelf into something that works like a drawer, so nothing can hide.
This plan works for a walk-in pantry, a reach-in closet pantry, or a deep base cabinet. Set aside about three to four hours, plus a trip to buy containers once you have measured.
What You'll Need
- Tape measure and a notepad (or your phone)
- Cleaning supplies: vacuum with crevice tool, all-purpose cleaner, cloths
- A folding table or a clear stretch of counter for sorting
- A box for donations and a trash bag
- Clear bins with handles, sized to your shelf depth
- One or two turntables (10 to 12 inches across)
- Tiered can risers or shelf risers
- A label maker, or masking tape and a marker
- Optional: battery-powered LED strip or motion-sensor puck lights
Step 1: Empty Every Shelf
It is tempting to organize one shelf at a time. Resist it. You cannot see what you own until it is all out in one place. Pull everything out and group it loosely on the table or counter as you go.
Once a shelf is empty, vacuum crumbs out of the corners and wipe it down. Look for signs of pantry moths (small webbing or larvae in grain products) and throw out anything affected. If you find them, wipe shelves with a vinegar-and-water solution and store all grains in airtight containers going forward.
Step 2: Edit Ruthlessly
Check dates and toss anything expired, stale, or rancid. Whole-wheat flour, nuts, and cooking oils go off faster than most people expect; give them a sniff. Unopened, unexpired food you will not use can go into the donation box for a local food bank.
As you sort, note what you have multiples of. That list tells you what you have been losing in the back.
Step 3: Measure Before You Buy Anything
This step saves both money and frustration. For each shelf, write down:
- Depth: front edge to back wall. Deep pantries usually run 16 to 24 inches.
- Width: wall to wall, or between any supports.
- Clear height: shelf surface to the underside of the shelf above.
Subtract about 1 inch from depth and height for bins, so they slide out without scraping. A shelf that is 22 inches deep calls for bins about 20 to 21 inches long. Most containers list exterior dimensions on the package; check them in the store.
Step 4: Plan Your Zones
Group food the way you actually cook and shop, not by some ideal system. A typical family pantry might use these zones:
- Breakfast: cereal, oats, pancake mix, syrup, nut butters
- Baking: flour, sugar, baking soda, chocolate chips, extracts
- Pasta and grains: pasta, rice, quinoa, boxed sides
- Canned and jarred: beans, tomatoes, broth, sauces
- Snacks: crackers, chips, granola bars, kid snacks
- Oils, vinegars, and condiments
- Backstock: unopened extras of things you buy in bulk
Then assign each zone a shelf height based on how often it gets used:
- Eye level to chest height: daily items, like breakfast and snacks
- Waist level: frequent cooking staples, cans, and pasta
- Lowest shelf or floor: heavy items such as bulk rice, potatoes, onions, and drinks
- Top shelf: backstock, holiday baking supplies, and small appliances you use a few times a year
If kids help themselves, put their snack bin at a height they can reach without climbing.
Step 5: Make the Deep Shelves Work Like Drawers
This is the core of the system. A deep shelf fails because you have to reach over the front row to get to the back. A long bin with a handle solves it: you pull the whole bin forward, grab what you need, and slide it back.
Here is how to use each type of container:
- Long clear bins with handles for categories of loose items such as snack packs, pasta boxes, or baking supplies. Clear sides let you see contents at a glance, so you are not relying only on labels.
- Turntables for back corners and for bottles: oils, vinegars, sauces, and spices. A spin brings the back to the front.
- Tiered risers for cans, so the back row sits higher than the front and every label is visible.
- Airtight canisters for flour, sugar, rice, cereal, and anything you buy in bags. Square or rectangular canisters waste less space than round ones.
- Over-the-door racks for spices, foil and wrap boxes, and small packets.
If your budget allows, sliding pull-out baskets that mount to the shelf are the most drawer-like option. Expect roughly $30 to $70 each for basic units that screw down to an existing shelf.
Step 6: Label Everything
Labels keep the system working after organizing day, especially in a shared household. Label the front of every bin with its category, not the exact contents. "Pasta and Grains" is more useful than "Penne," because the penne will run out and the bin will be refilled with something else.
On canisters, add a small strip of tape on the bottom or back with the expiration date or purchase date from the original package. For baking items, note any key information you lose by decanting, like the cooking time for a specific rice.
Step 7: Put Everything Back, Oldest in Front
Load each zone so older items sit in front and newer ones go behind. This first-in, first-out habit is how grocery stores rotate stock, and it keeps you from finding stale crackers in the back months from now.
Leave a little empty space in each bin. A bin packed to the brim is hard to slide out and impossible to keep tidy.
Step 8: Add Light if the Back Is Dark
Many walk-in pantries have a single overhead bulb that throws shadows onto the lower shelves. Battery-powered LED strips or motion-sensor puck lights stick to the underside of shelves and cost about $15 to $30 for a set. They make a surprising difference in how easy it is to find things.
Common Mistakes
- Buying containers before measuring. This is the most common and most expensive misstep.
- Using too many tiny containers. Small bins on a deep shelf recreate the same problem; you are just losing bins in the back instead of boxes.
- Decanting everything. Clear canisters look great, but refilling them takes time. Decant what you use constantly and leave the rest in original packaging inside a bin.
- Organizing for looks. Rainbow-sorted snacks photograph well and fall apart in a week. Organize by how your household actually cooks.
Keeping It Up
Do a two-minute scan of the pantry before each grocery trip. You will spot what is low, avoid duplicates, and notice anything drifting out of its zone. Once a season, pull each bin, wipe it out, and check dates.
The Short Version
Empty the pantry, measure carefully, group food into zones by how often you use it, and put deep shelves to work with long bins, turntables, and risers. Label by category and rotate oldest to the front. A well-planned pantry pays off every time you cook, and the same approach works for the cabinet under the bathroom sink and the shelves in the laundry room.