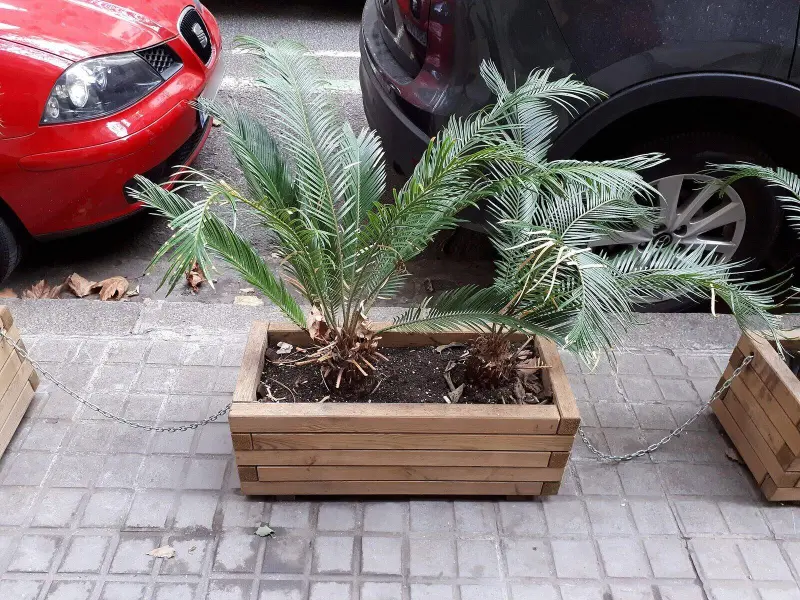
Cedar fence pickets are one of the best-kept secrets in budget woodworking. They are rot-resistant, light, cheap at about $3 to $5 each, and sold at every home center. With half a dozen of them and a set of locking casters, you can make a planter box roughly 2 feet long that rolls to the sunny side of the patio in the morning and tucks against the wall before a storm. The project takes about three hours with basic tools.
The Finished Size
This design makes a box about 23-1/2 inches long, 16 inches wide, and 22 inches tall including the casters, with a growing space of roughly 22 by 14-3/4 by 16 inches. That holds about 3 cubic feet of soil, or a little over 20 gallons, which is enough for a tomato plant with basil around it, a mix of salad greens, or a pair of peppers.
All measurements assume standard dog-ear cedar pickets that are 5/8 inch thick, 5-1/2 inches wide, and 6 feet long. Measure yours before cutting; actual sizes vary a little between lumberyards.
What You'll Need
Materials
- 6 cedar fence pickets, 5/8 x 5-1/2 inches x 6 feet
- 1 cedar 2×2, 8 feet long (actual 1-1/2 x 1-1/2 inches), for the corner posts
- 1 cedar or ground-contact pressure-treated 2×4, 4 feet long, for the base skids
- 4 locking swivel casters, 2 to 3 inches, rated at least 75 pounds each
- 1-1/4-inch exterior screws (coated deck screws or stainless steel), about 100
- 2-1/2-inch exterior screws, about 16
- 1/4 x 1-1/4-inch lag screws to mount the casters, usually 16
- Landscape fabric, about 2 by 5 feet, and a staple gun with stainless or galvanized staples
- Exterior wood glue (optional)
Tools
- Miter saw or circular saw with a speed square
- Drill/driver, a countersink bit, and a 1/8-inch pilot bit
- Tape measure, pencil, and a square
- Clamps
- Sanding block with 120-grit paper
- Safety glasses, hearing protection, and a dust mask
Cut List
First cut the dog-ear tops off every picket, removing about an inch, so you have square ends. Each picket then yields about 70 inches of usable board.
- Long side boards: 6 at 23-1/2 inches (three per side, two pickets)
- Short side boards: 6 at 14-3/4 inches
- Floor slats: 4 at 16 inches
- Corner posts (2×2): 4 at 16-1/2 inches
- Base skids (2×4): 2 at 23-1/2 inches
The short boards fit between the long sides, so their length is the outside width (16 inches) minus two picket thicknesses (1-1/4 inches). If your pickets are a different thickness, adjust that number before cutting. Sand all cut ends lightly with 120 grit to remove splinters.
Saw safety: wear eye and ear protection, clamp short pieces rather than holding them near the blade, and let the blade spin down before lifting the saw. Cedar dust can irritate airways, so wear a mask when sanding and cutting.
Step 1: Assemble the Two Short Ends
Lay two corner posts on the bench, parallel, with their outside edges 14-3/4 inches apart. Place three short boards across them, the bottom board flush with the post ends and each board tight against the next, with the board ends flush with the outside edges of the posts. The three boards cover 16-1/2 inches, matching the post length.
Drill 1/8-inch pilot holes and countersink them, then fasten each board to each post with two 1-1/4-inch screws. Pilot holes matter: cedar splits easily near the ends. Assemble the second end the same way.
Step 2: Add the Long Sides
Stand the two end assemblies up, posts facing inward. Attach the long side boards so they cover the ends of the short boards and screw into the side faces of the posts, two screws per board per post. Start with the bottom board and check that the box is square by measuring both diagonals; they should match within 1/8 inch. Rack the box gently until they do, then add the remaining boards.
A thin bead of exterior glue along the posts before screwing makes the box noticeably stiffer, though it is optional.
Step 3: Make the Rolling Base
Lay the two 2×4 skids flat, parallel, with their outside edges 16 inches apart. Place the four floor slats across them, leaving gaps of about 1/2 inch between slats for drainage, with the outer slats flush with the skid ends. Four 5-1/2-inch slats plus three 1/2-inch gaps add up to the 23-1/2-inch length. Screw each slat to each skid with two 1-1/4-inch screws.
Step 4: Attach the Box to the Base
Set the box on the floor so its walls line up with the outer edges of the base. Drive 2-1/2-inch screws up through the floor slats into the bottom of each corner post, two per post, working from underneath with the assembly on its side. Then add a few 1-1/4-inch screws through the bottom side boards into the edges of the slats where they line up.
Step 5: Mount the Casters
Flip the planter upside down. Position a caster near each corner of the skids, about 1 inch in from the ends and centered on the 3-1/2-inch face of each 2×4. Mark, drill pilot holes, and drive the lag screws. Make sure the lag screws are shorter than the 1-1/2-inch skid thickness so they do not poke through into the floor.
Locking swivel casters on all four corners let you steer in any direction and park on a slight slope. Rubber or polyurethane wheels roll more quietly on concrete than hard plastic.
Step 6: Line It and Fill It
Staple landscape fabric to the inside walls and across the floor, folding neatly at the corners. Fabric holds soil in while letting water out. Avoid solid plastic sheeting on the floor; it traps water and leads to soggy roots. Some gardeners staple plastic only to the side walls to slow down the wood's weathering, leaving the bottom open.
Fill with a quality potting mix or a raised-bed mix, not garden soil, which compacts in containers. Leave about 1 inch below the top edge. Expect the filled planter to weigh 100 to 150 pounds once watered, which is why the caster rating matters.
Finishing Options
Cedar can be left bare to weather to a soft silver gray in a season or two. To keep the warm reddish color, brush an exterior penetrating oil or semi-transparent stain on the outside only, and let it cure for at least 48 hours before filling. Skip stains and sealers inside the box if you are growing food.
Tips and Mistakes to Avoid
- Do not skip pilot holes. Screws near the end of a 5/8-inch picket split it almost every time.
- Choose straight pickets. Bowed pickets leave gaps between boards. Sight down each one at the store.
- Go deeper for root crops. For carrots or potatoes, add a fourth row of boards all around and lengthen the posts by 5-1/2 inches. You will need two extra pickets.
- Lock the wheels. On a deck or sloped patio, lock at least two casters every time you park the planter.
- Rotate the box. Turning the planter 180 degrees every week or so helps plants grow evenly instead of leaning toward the light.
- Add a top cap if you want a finished look: rip a leftover picket into 2-1/2-inch strips and miter them around the top edge, which also gives you a handy ledge for a coffee cup.
Once you have made one, a matched pair flanking a doorway or a row of three along a sunny wall is an easy weekend extension, and the leftover picket scraps make good plant labels.